I was inspired by a 1940s pattern that I have for leather accessories. It features a bag, cap, purse and a gorgeous carnation. I was thinking about how 1940's women always accessorised their outfits well, often out of necessity as buying new was not always an option. So I decided to make some carnations to brighten up dresses, cardigans, hats, bags, as buttonholes or perhaps just to put in a jug on my desk. I have used felt, as women at that time often did.
On plain paper I drew 2 grids, one 2" by 3" and one 3" by 4". I have used inches as I wanted to make my flower to its original dimensions. I used these grids as a guide to draw my petal and calyx templates. You could draw these by hand and could also change the shape and size.
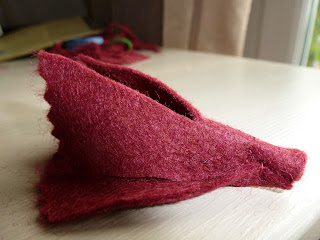
Once cut out I pinned each pattern piece to the felt. Each carnation needs one calyx and 12 petals. I cut round the template rather than draw round it so that no marks would be on show on the finished carnation. I used pinking shears round the petal top as carnations look a bit feathery, you could also cut a fringe or leave it plain.
Next, take one petal and roll it into a tube. I secured it at the bottom with a few stitches. Then cut 2 petals in half leaving a join at the bottom. Position these around the tube and stitch in place when you are happy with the result.
The next stage is trial and error as this gives the final shape of your flower. The petals need to be added one by one, keep checking to see that you like the shape that you are producing. You can hold them together or add a couple of stitches every few petals.
Leaving 5cm free at each end I then tightly wound a 36cm length of florist's wire around the base of the flower. You can rearrange your petals as you do so.
Twist the ends of the wire together to form a short stem. Position the calyx so that it covers the bottom third of the petals and all of the wire stem. The calyx piece needs to be tightly wrapped around the stem. I used a dot of glue to attach the calyx to the petals, then stitched it down the stem. You could also cut a leaf shape from the felt and stitch it to the stem.


that's lovely Katie!
ReplyDeleteThank you. Do show me a picture if you make one.
ReplyDelete