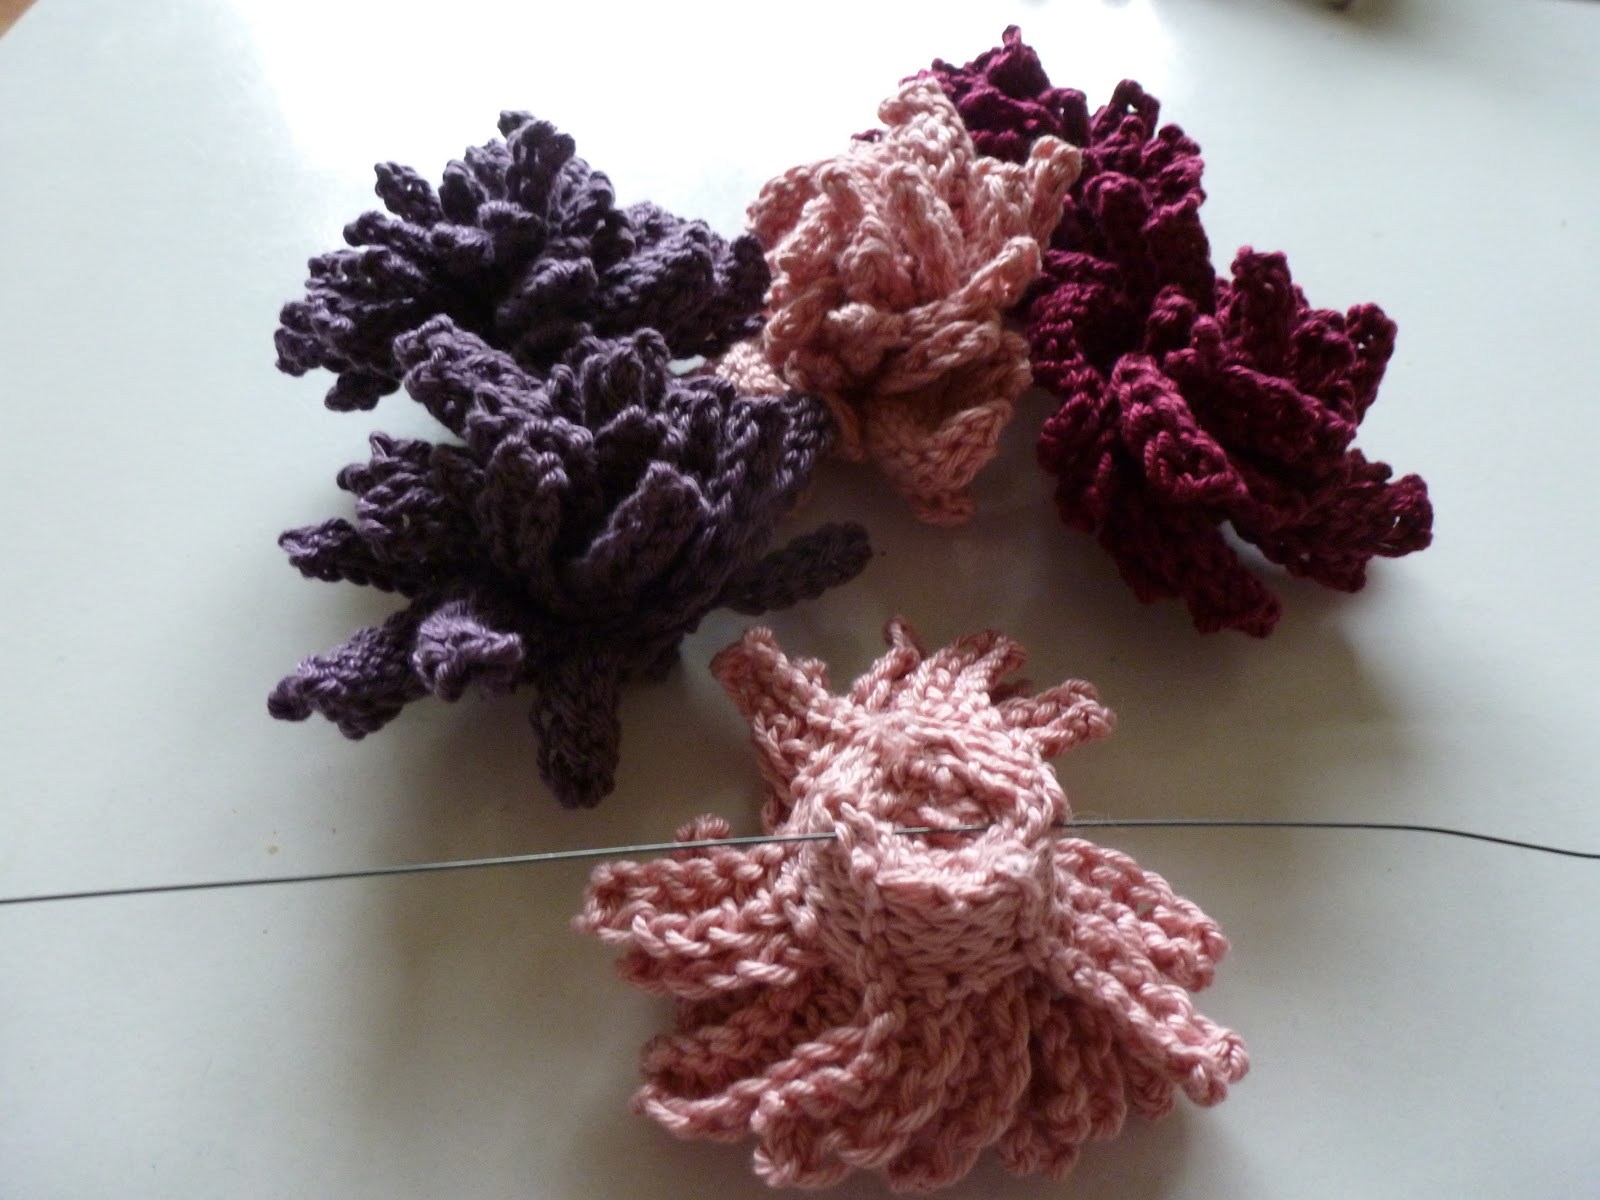
At last! I can write about the items I have been making over the past few months. I have been maintaining a state of secrecy as all the items were for my wedding and I wanted to keep some of the details under wraps. I also needed to wait whilst I was hounding guests for their photos. But, now that I have been happily married for one whole month, I can begin to write all the posts that have been stored up in my head for some time!
I was keen that our wedding would have lots of personal touches and that decorations and other items would be handmade wherever possible. That does not mean that it was all made by me, I would not have managed it and stayed sane. I have had help from a number of my family and friends for which I am massively grateful. The bouquet and posies are however, all down to me.
I got mixed reactions when I said I was going to make my bouquet, even more so when I said that I was going to knit it. I wanted to have a bouquet that I could keep and I just fancied the challenge so I decided to go for it. I had a Plan B of grabbing a bunch of whatever flowers there were in the nearest supermarket if I created something too embarrassing to be seen with.
So this is how I made it. I didn't have a definite plan, it was just in my head and I worked it out as I went along. Inevitably that meant that I made the odd mistake and some bits worked better than others so I am going to include what I would do if I were to ever make another (not for me though)!
The major decision is to pick your flowers. I decided to have all the same type of flower and to vary the colour of them. You could knit a mix of flowers, you could knit the same type but all in one colour. I found a
knitted flower book was very helpful for generating ideas and for visualising the flowers. I went for dahlias as I enjoy the blowzy shape and they looked fun to make.
Next you need to decide on yarn and needle size. Many patterns do not give a needle size as you just need to pick one that gives you a flower in the size that you want. I started with 3.75mm, liked the size and stuck with them. I thought I was going to use cotton to knit the flowers as it would have produced a lovely sheen. I tried a couple, didn't like the effect as much and also thought they were a bit small. Changing the needle size would have produced a texture I didn't like. I had some cotton, silk, merino blend yarn, tried that and loved it. Also, here I had one of my two Bridezilla moments when I realised I wanted a big bouquet, bigger than my bridesmaids posies, a real stand out one! So they got the cotton ones. Which were still beautiful, just different.
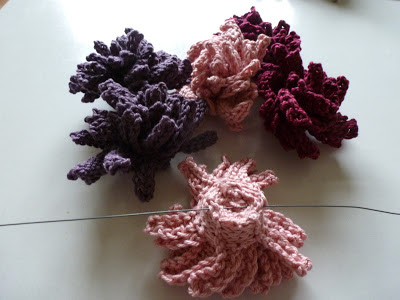
Once I had knitted the flowers and made them up I needed to work on the bouquet and poesy construction. I bought a bundle of 20cm lengths of florist's wire and threaded one length through the stitches at the back of each flower, as you can see above.
I decided to use pencils as my stems but skewers or knitting needles or dowel would work just as well. I used new pencils and placed them in a convenient indent in the middle of the back of each flower. It occurred to me later that sharpening them and sticking the point into the flower would give extra hold.
I then wrapped the wire around the pencil, keeping it as tight as possible and catching it through a few stitches on the way. Using a pair of pliers to tighten the wire up would be a good plan here. I couldn't face rummaging through the loft to find mine (note to self - put them in a more suitable location). The objective is to attach the flower head to the pencil stem in a reasonably secure manner. Obviously the bouquet and posies are generally treated quite gently. If you are going to throw yours a spot of glue may be called for.
I tied some yarn around the wire to prevent it from slipping down the pencil, it acted like a kind of shelf. I did think about knitting icords to cover the pencils and if I had left myself enough free time I would have done. I think that would give the prettiest look. I used green grosgrain ribbon to wrap around the pencils to turn them into stems and it worked really well.
I grouped my flowers into threes and tied them together making sure that the flower heads were well arranged and not squashed. Odd numbered groupings tend to look most pleasing but you could play around to obtain the effect that you want. The posies were made of 3 flowers, my bouquet was made of nine. For my bouquet I then tied each set of 3 flowers together. Here it was really important to check that all the flowers could be seen well to get the full effect. I found varying the heights of the pencils and the angles at which they were tied achieved this. I then wrapped them in ribbon as mentioned previously.

At this point the flowers looked great, it looked like a poesy or bouquet, but I felt something was missing. I was thinking that shop bought flowers often have something wrapped around the stems and I suddenly though doilies! So I raided my vintage doily collection (that is your something old right there) until I found the perfect ones. Each poesy got one doily, the bouquet had one per group of 3 flowers. I tied them around the pencil stems with yarn and also stitched them to some strategic flower petals so that they didn't flop down.

I wrapped the stems in thick green ribbon which I stitched and pinned into place. I then got a couple of metres of thin velvet ribbon, because I love it, and wrapped that around the centre of the stems. I used colours to match our dresses and also used a pale blue ribbon on my bouquet (there is your something blue)! I stitched a small pearl button to the centre of the bows that I tied in the velvet ribbon. We were all wearing pearl jewellery and I had vintage pearl buttons on my hat so I wanted it all to tie in.
My bridesmaids and I with the finished articles!
I made the buttonholes from the carnation pattern in the same book. I choose yarn to match the ties worn by the groom and best man. I made each one a single carnation, following the pattern exactly, including the short icord stem, I just changed the length of it. When I had made up the flowers I attached a brooch back to each so that they could be worn on suit jacket lapels. Despite some last minute knitting in the car on the day before our wedding I was really pleased with how they turned out.
My next few posts will cover other handmade items from our wedding. In a couple of these pictures you can see my hat and bag which were made for me by a very clever and generous friend. I can't tell you how they were made as I did't make them but I want to point them out as they are absolutely beautiful and completed my outfit.